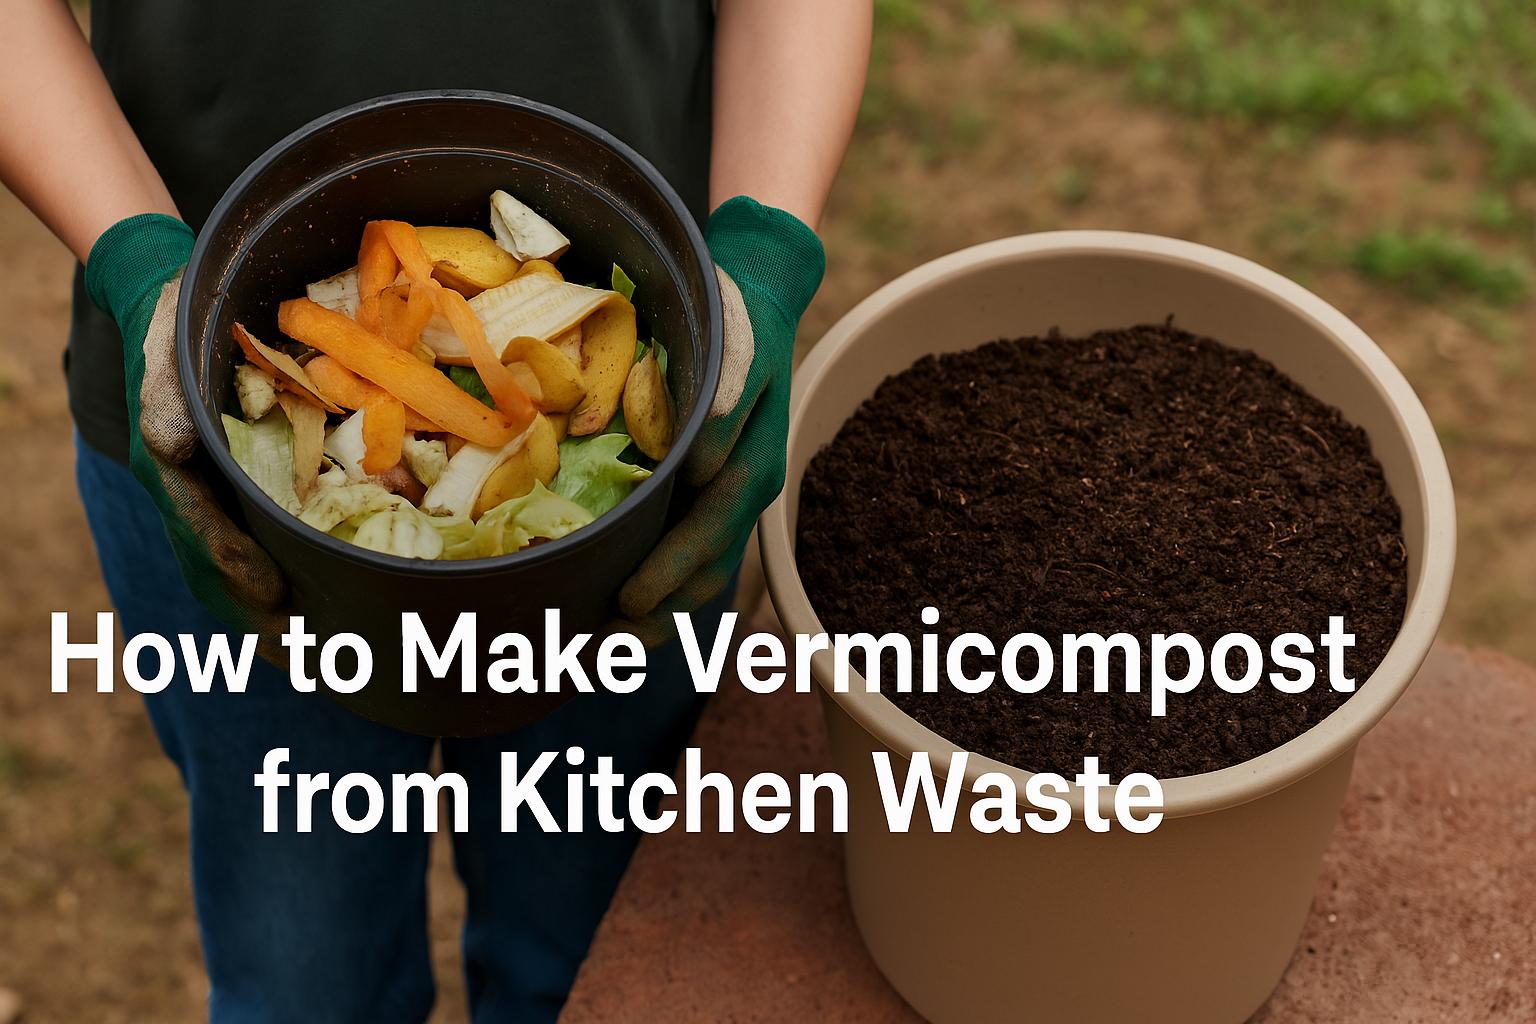
Making vermicompost at home from kitchen waste is a fantastic way to recycle organic waste into nutrient-rich fertilizer that dramatically boosts plant health. Follow this simple yet detailed guide, specially designed for apartment dwellers in India, and enjoy lush greenery at your fingertips!
Why Opt for Vermicomposting?
- Eco-friendly way to manage kitchen waste
- Saves money compared to commercial vermicompost prices (₹200/kg average)
- Enhances soil quality naturally
11-Step Easy Guide to Making Vermicompost at Home
Step 1: Select Your Compost Bin
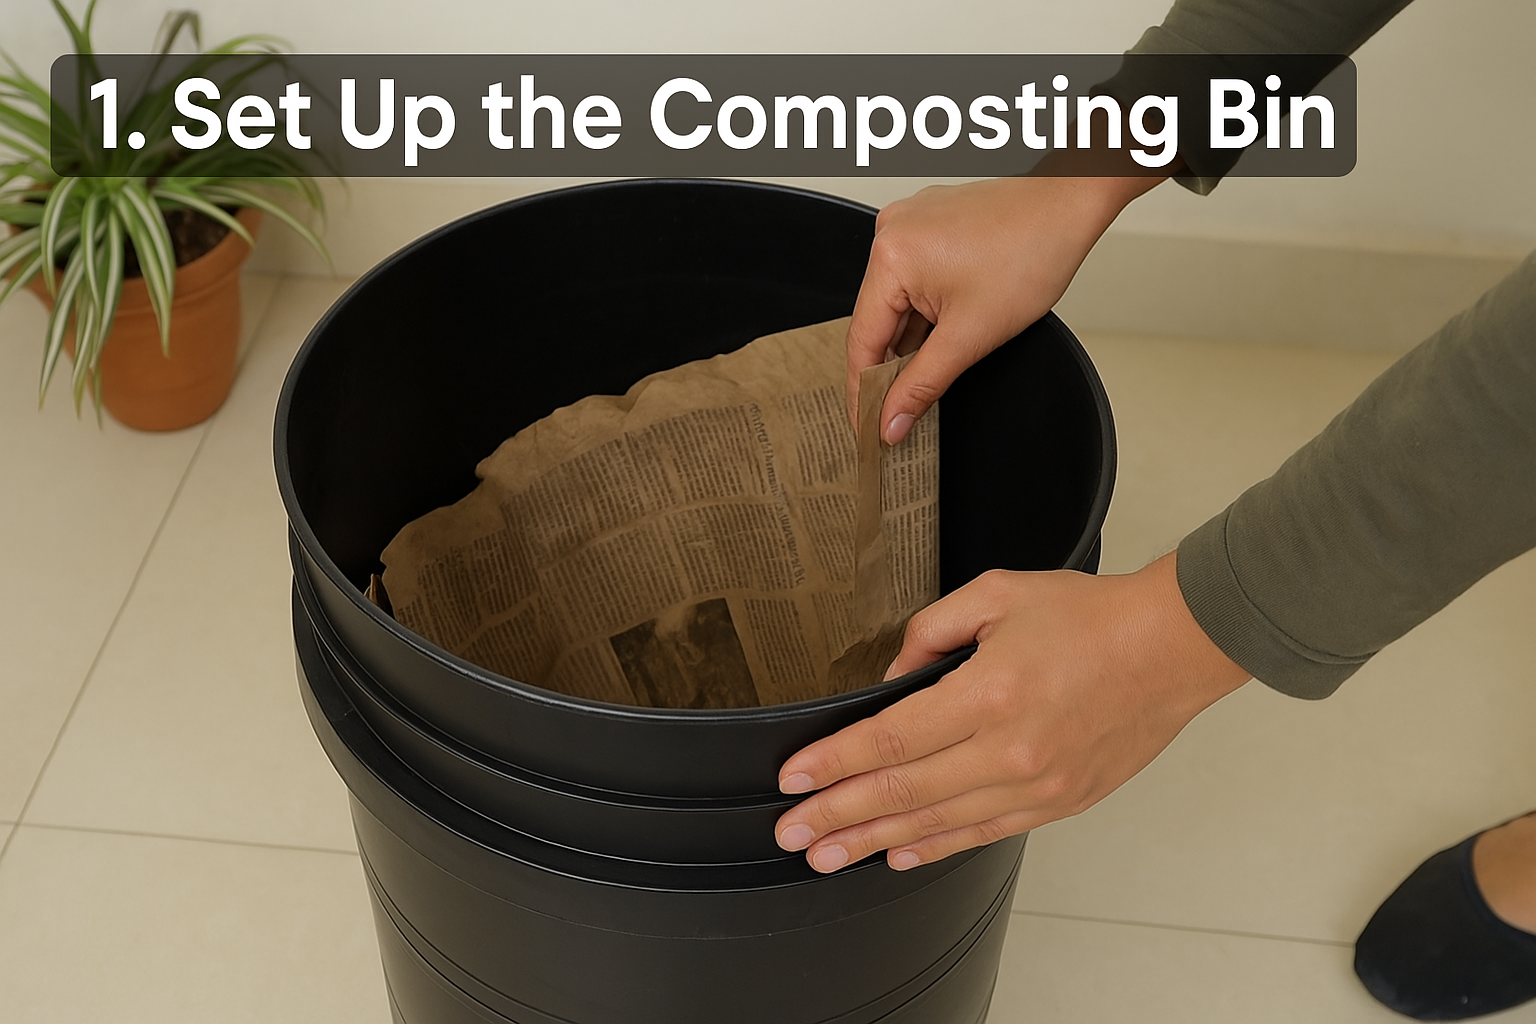
- Choose a container suitable for apartment composting—compact, durable, and breathable.
- Browse our specialized compost bins tailored for indoor use.
Step 2: Create Proper Ventilation
- Drill small holes around the sides and bottom for airflow and proper drainage.
Step 3: Layer Bedding Materials
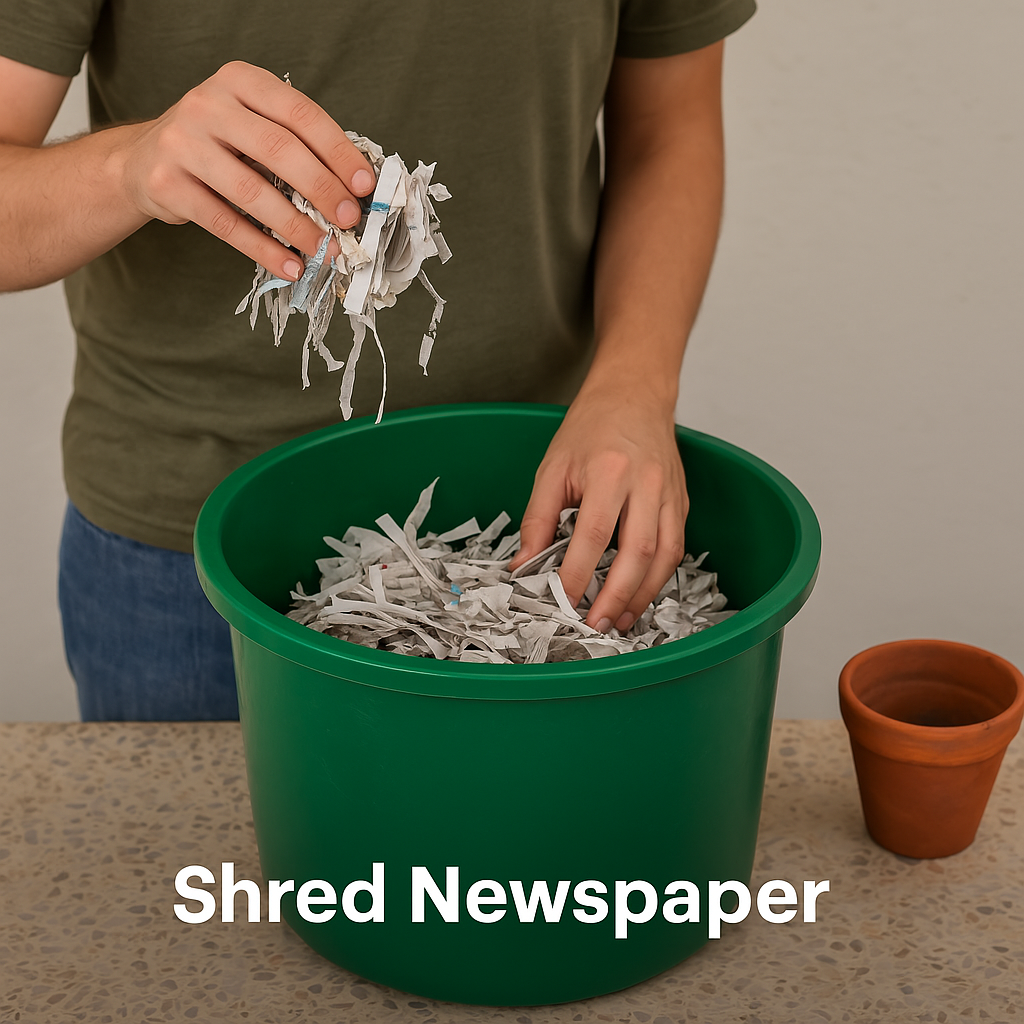
- Add 2-3 inches of shredded newspaper, dry leaves, or cardboard at the bottom.
- Moisten the bedding slightly to keep it damp but not soggy.
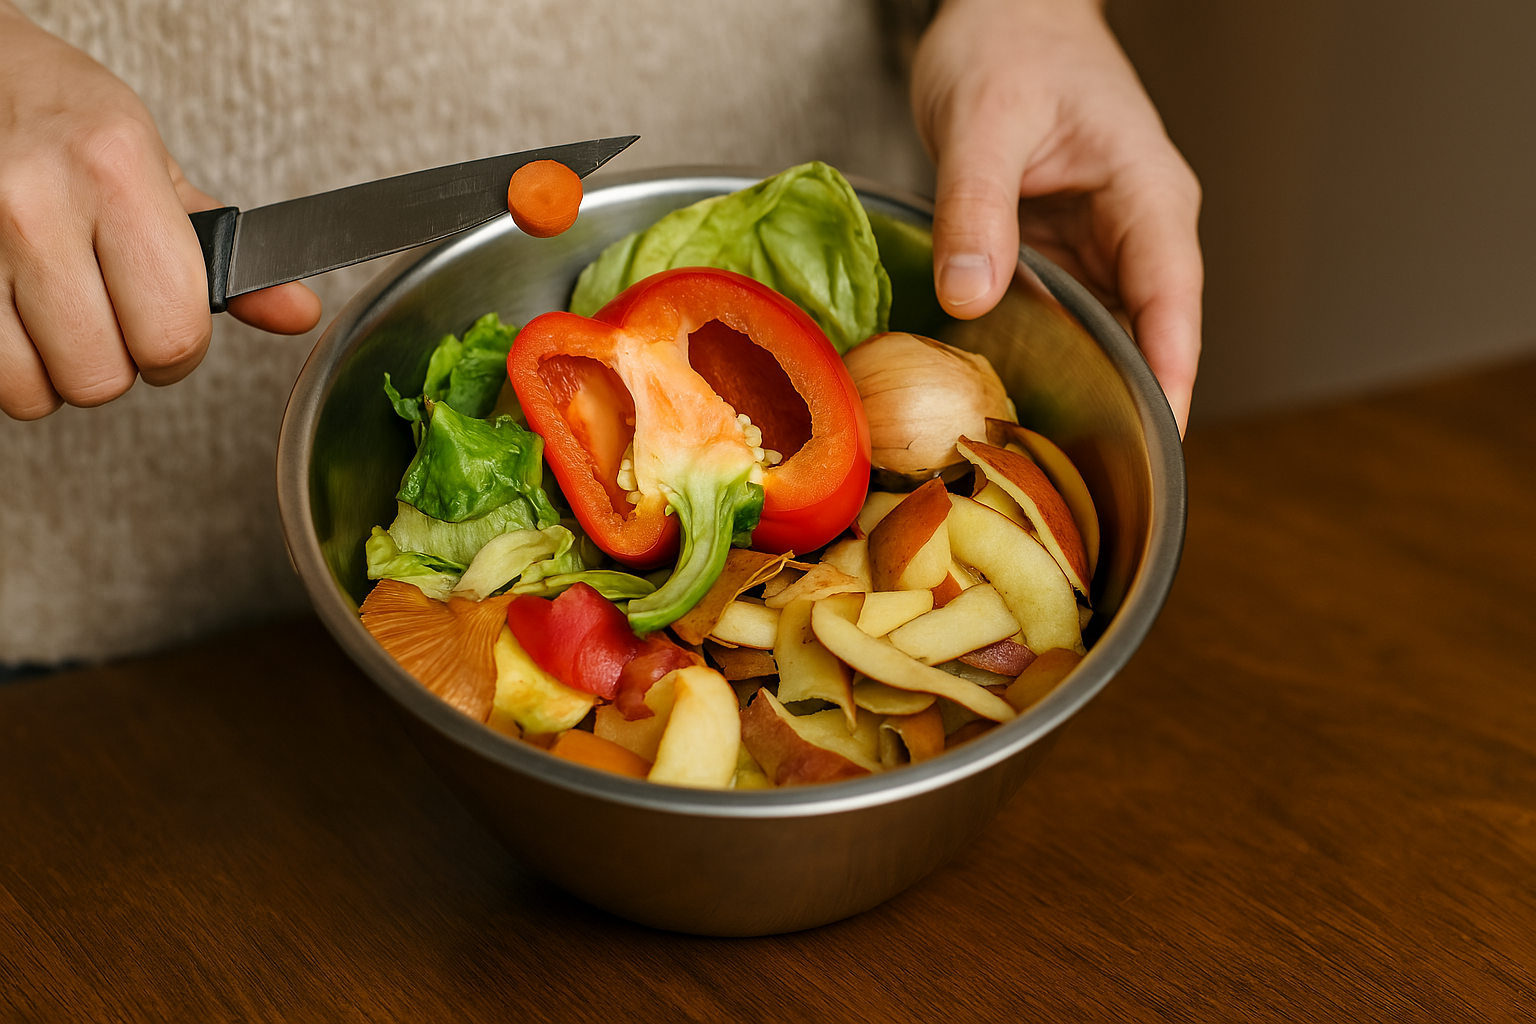
Step 4: Add Organic Kitchen Waste
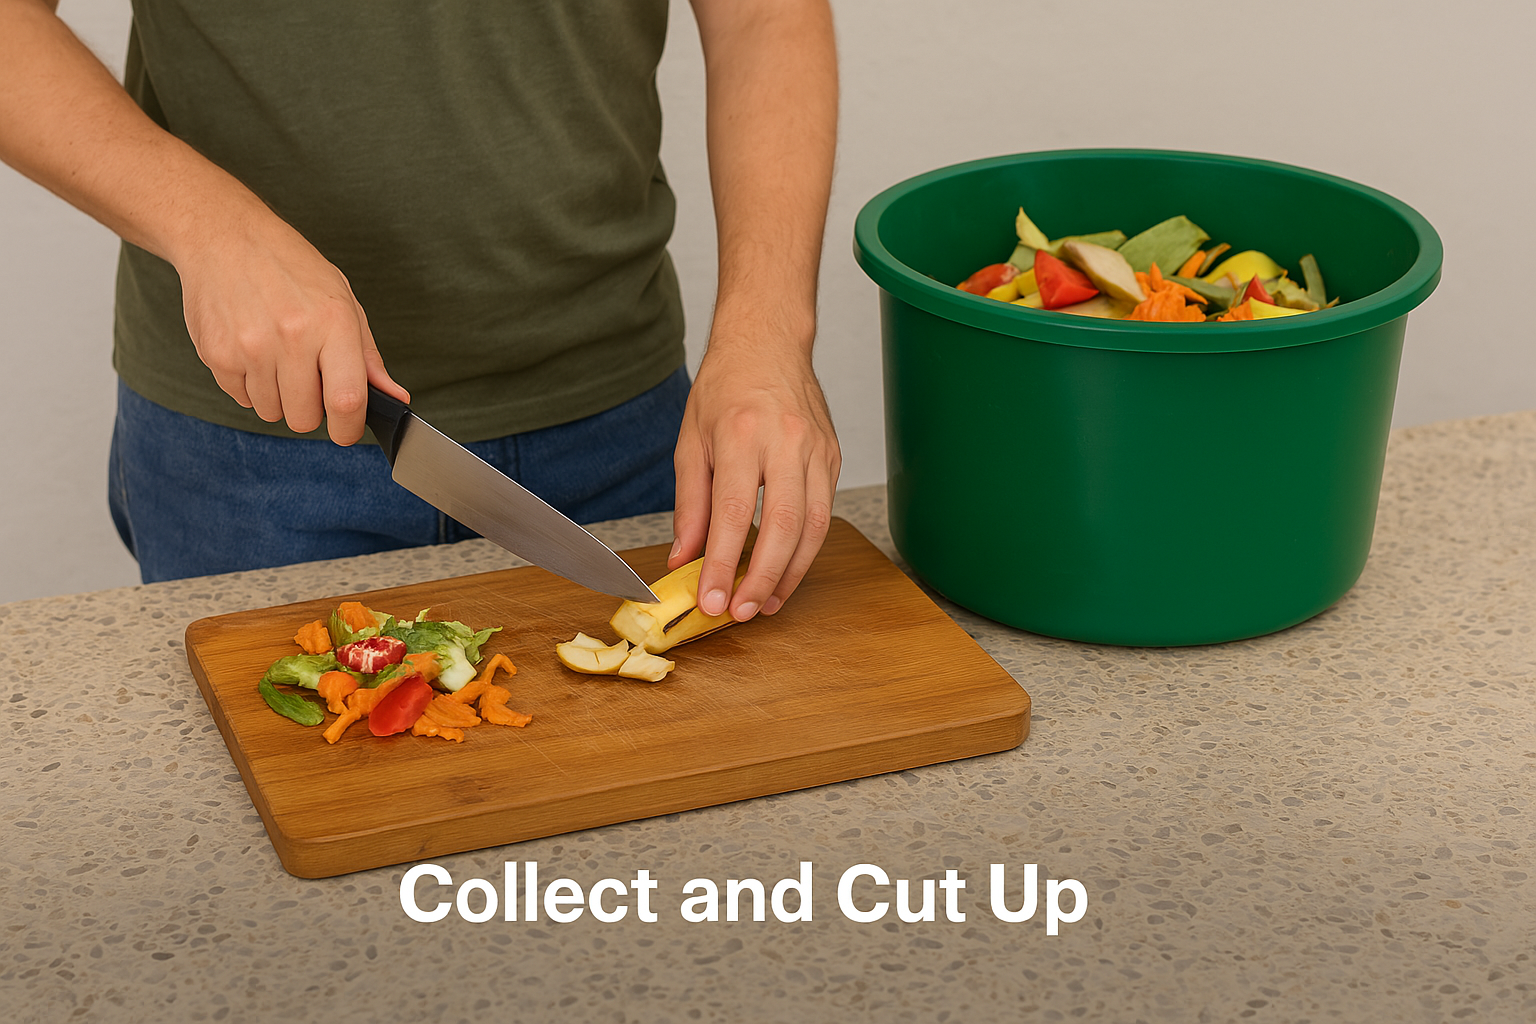
- Regularly add fruit and vegetable peels, tea leaves, coffee grounds, eggshells (crushed).
- Avoid oily foods, dairy, and meat products to prevent odors and pests.
Step 5: Introduce Composting Worms
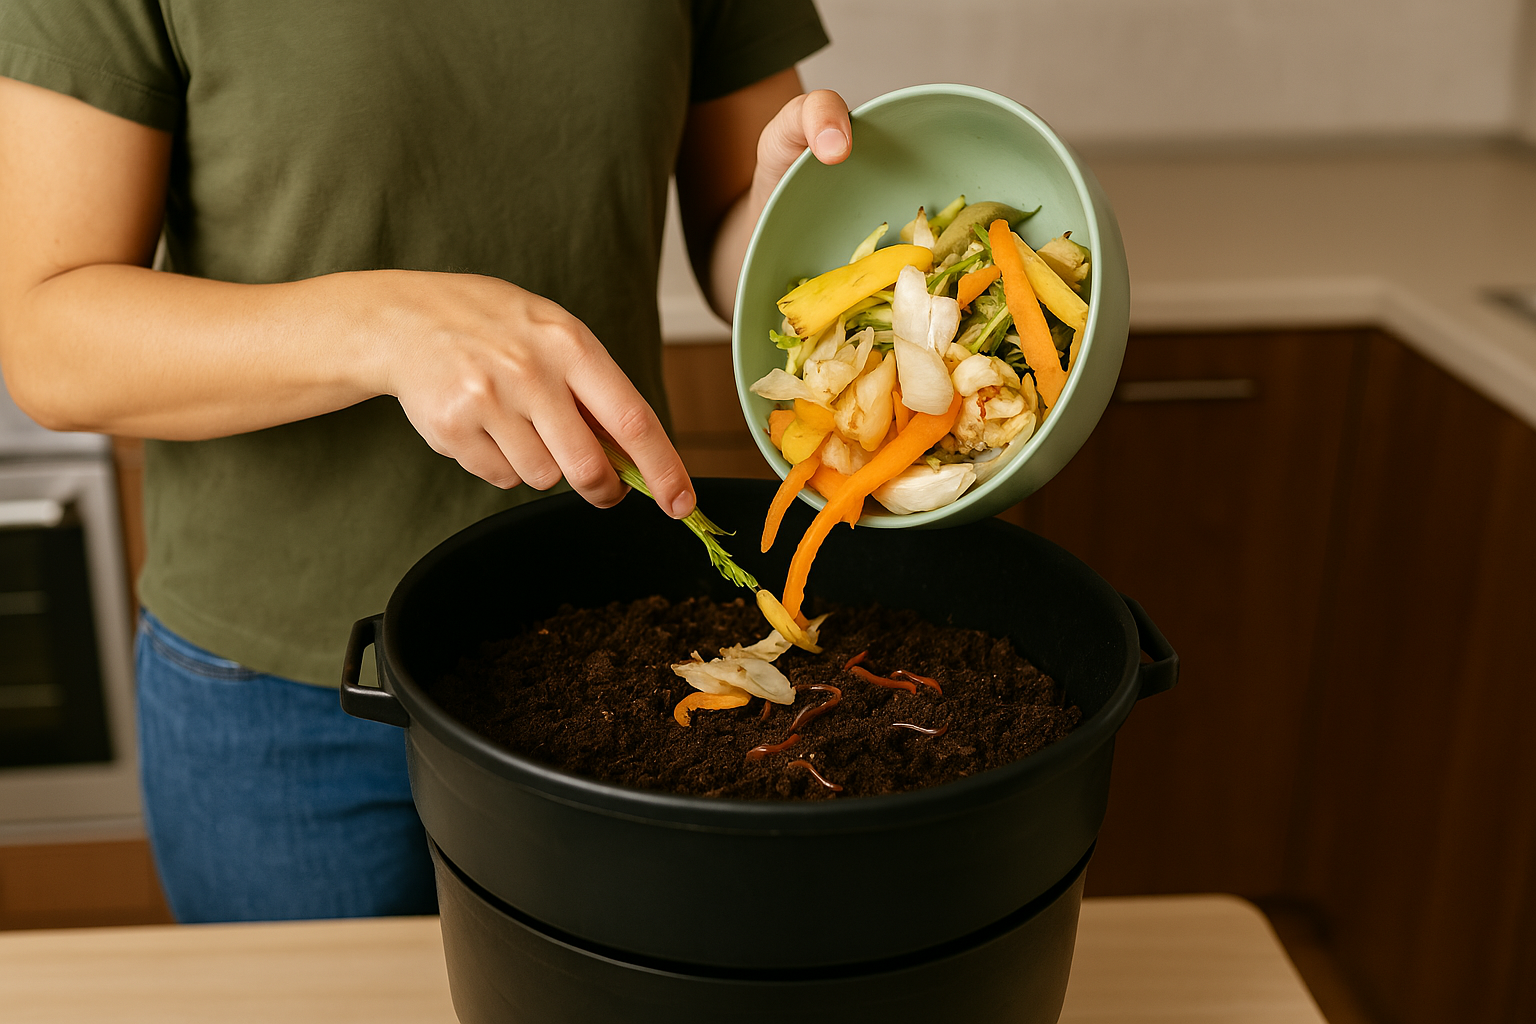
- Use around 250-500 red wiggler worms (Eisenia fetida), highly effective for composting.
- Gently place worms evenly on top of the organic waste.
Step 6: Cover Your Compost
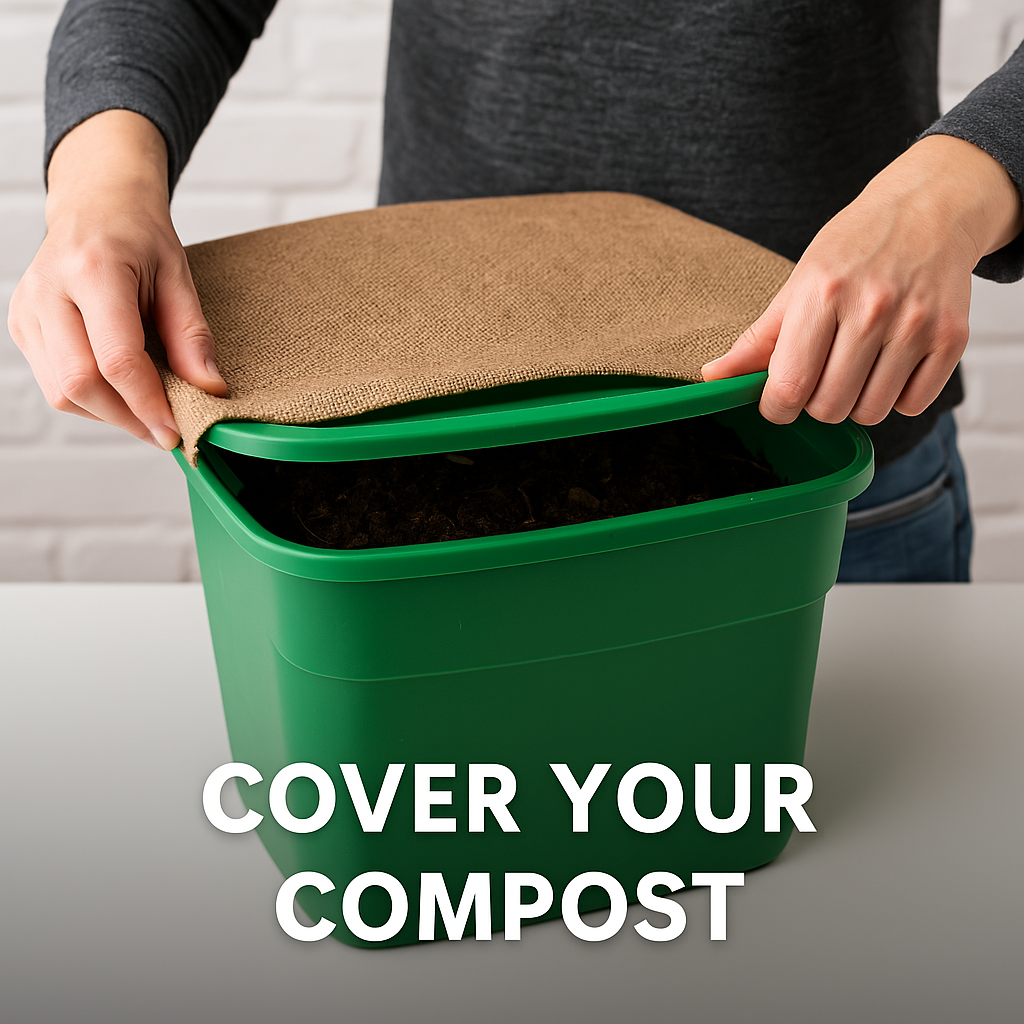
- Use a breathable material like a burlap cloth or loose-fitting lid to prevent flies and retain moisture.
Step 7: Position the Bin Properly
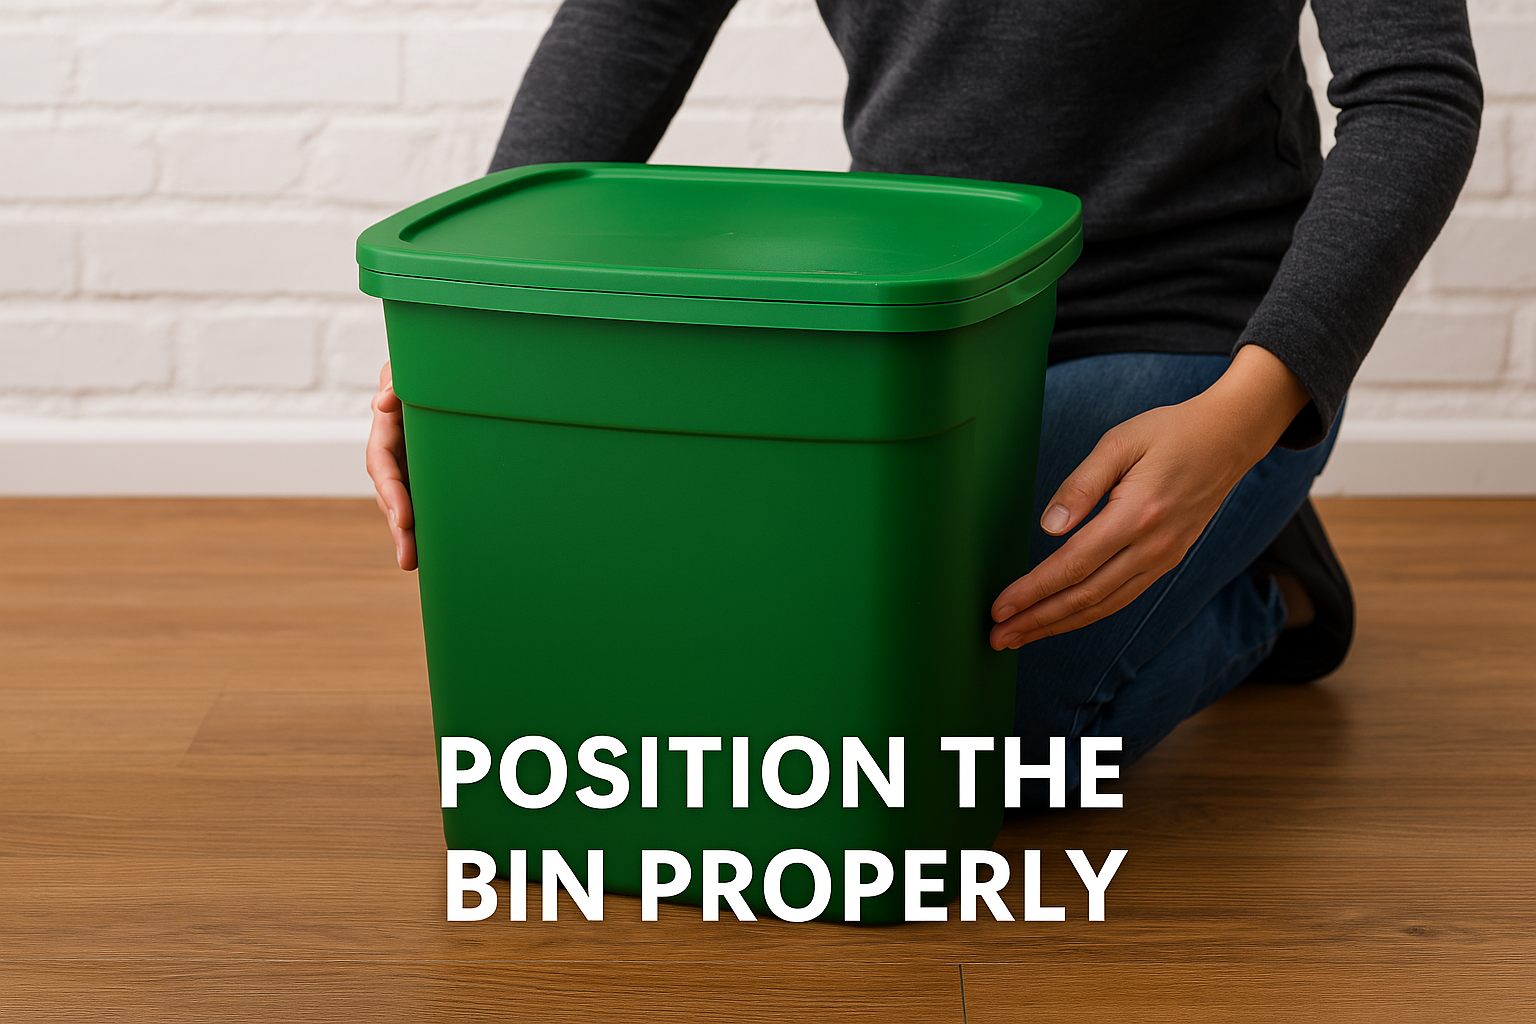
- Place your compost bin in a cool, shaded corner of your apartment or balcony.
- Avoid direct sunlight and excessive heat.
Step 8: Maintain Regular Moisture Levels
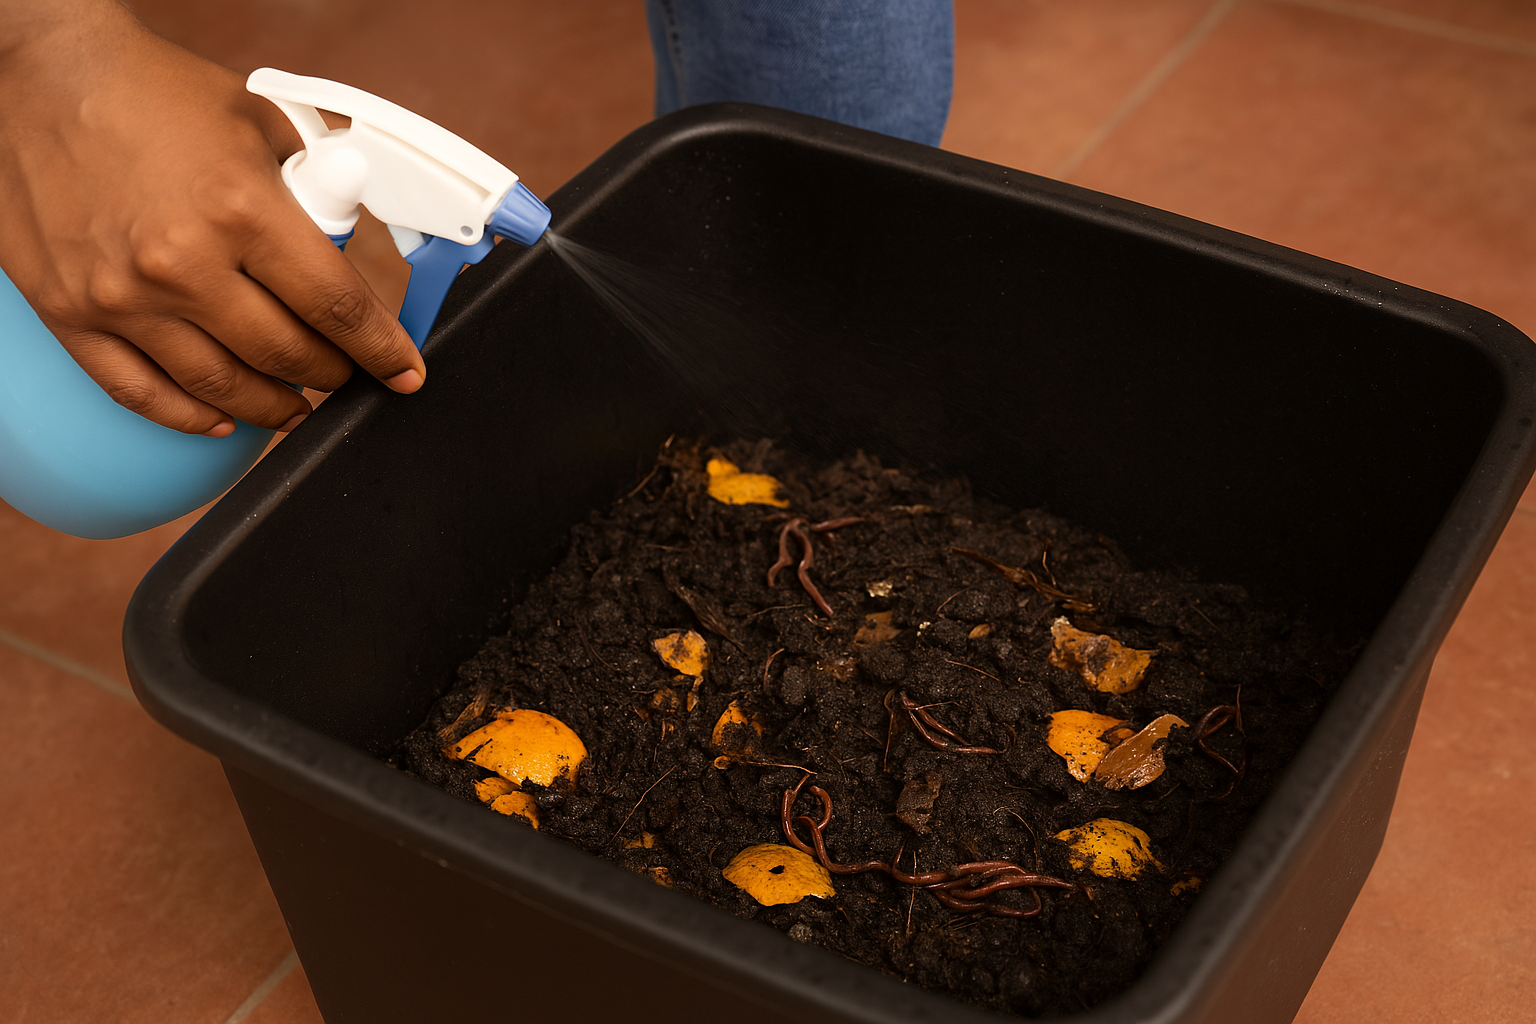
- Keep compost consistently moist, similar to the dampness of a wrung-out sponge.
- Check moisture weekly, sprinkling water if needed.
Step 9: Turn and Aerate the Compost
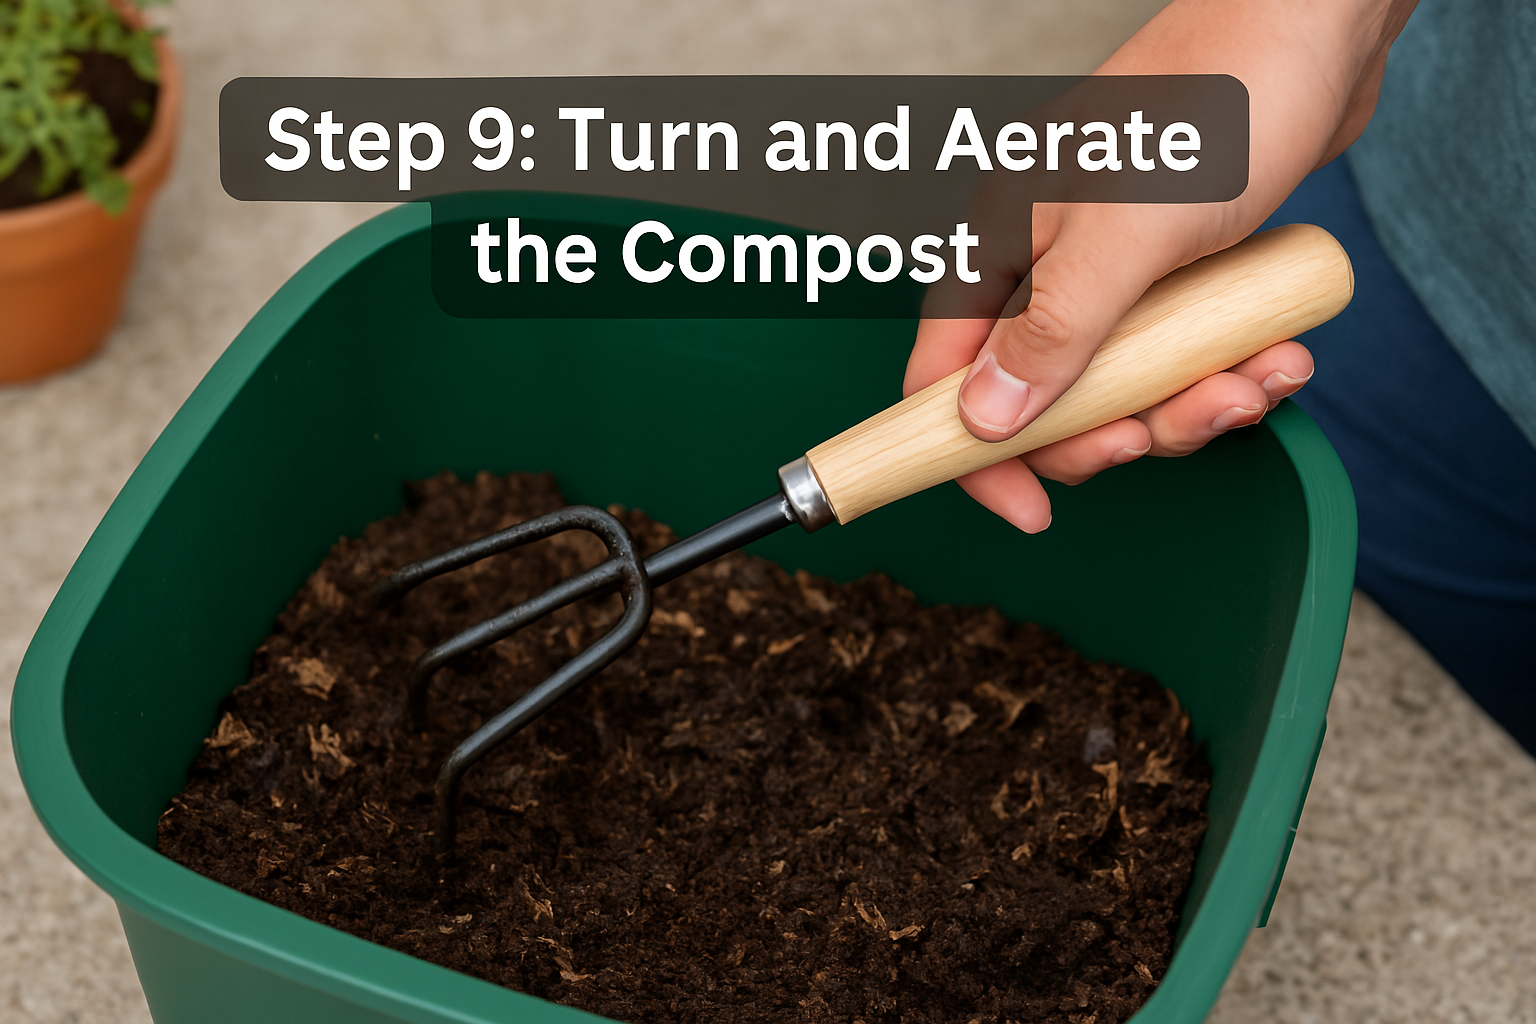
- Gently stir or fluff the compost once a week to enhance oxygen flow and prevent compacting.
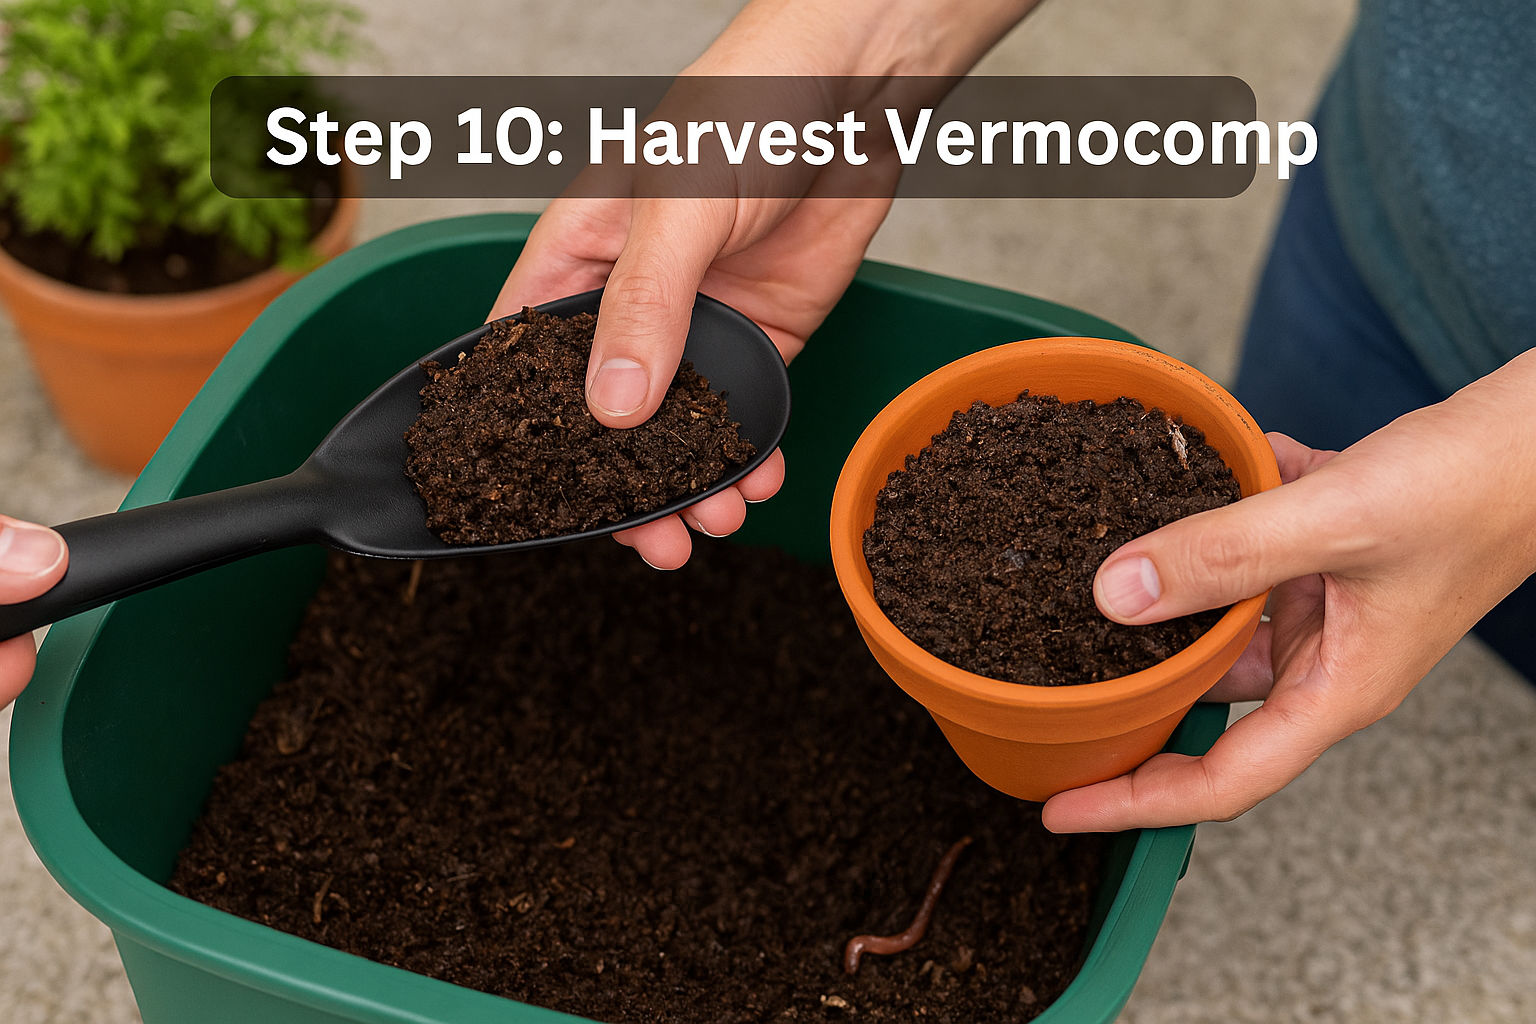
Step 10: Harvest Vermicompost
- After 8-12 weeks, your compost turns dark, crumbly, and earthy.
- Move finished compost to one side; worms naturally migrate to fresh bedding on the other side.
Step 11: Use Vermicompost for Plants
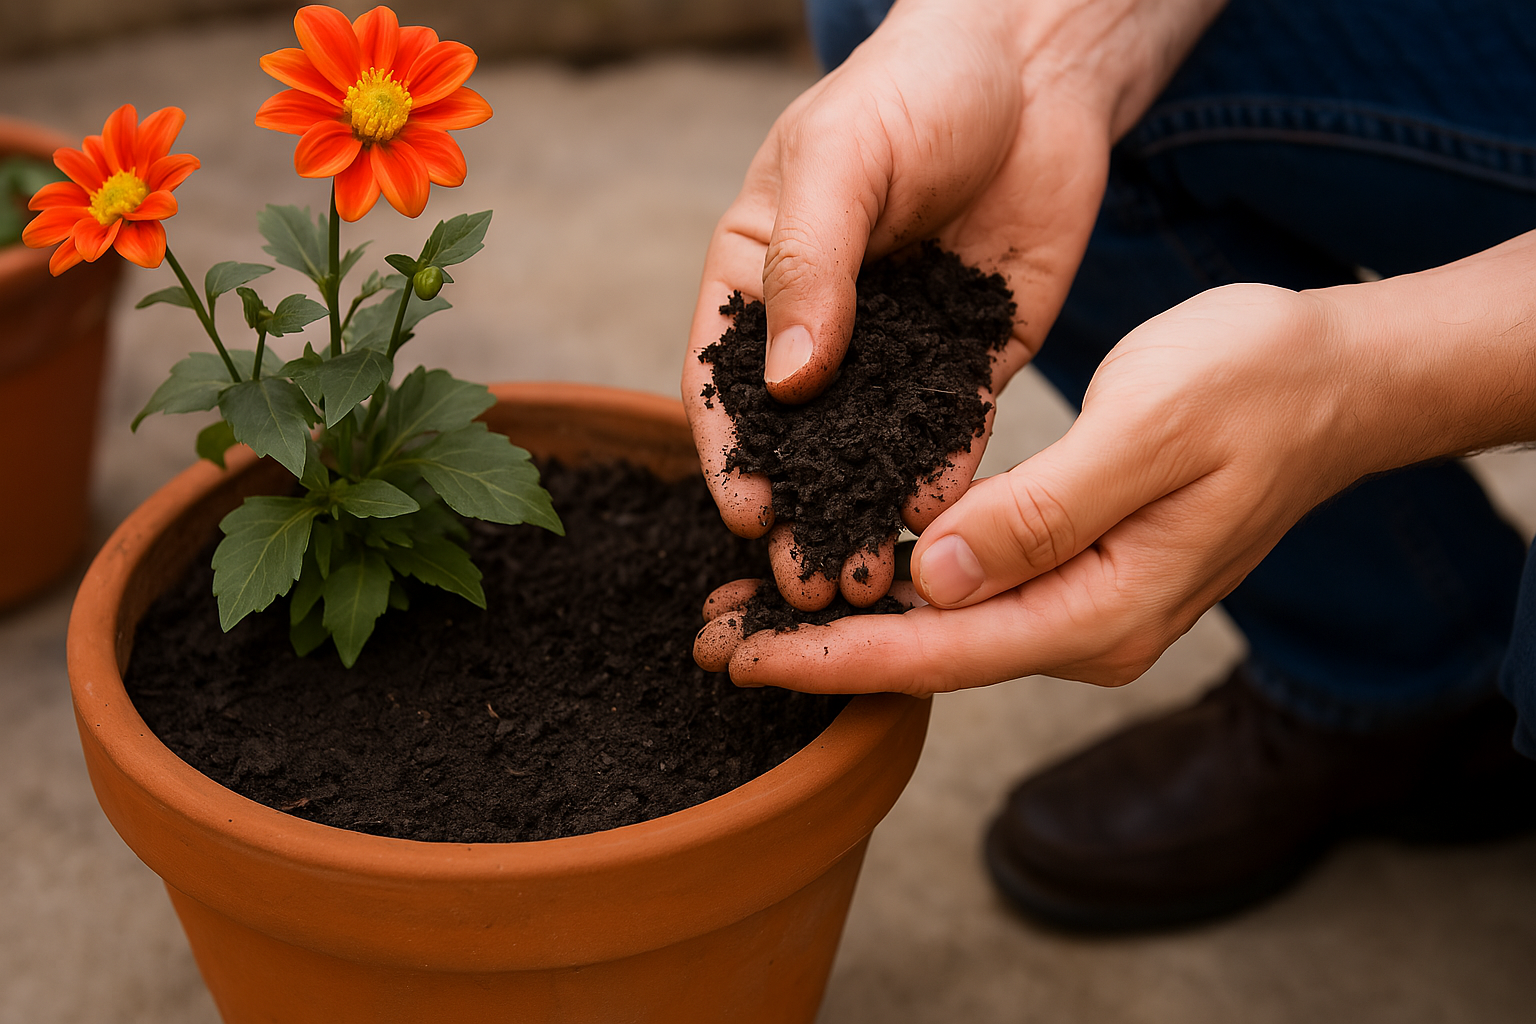
- Apply your homemade vermicompost around plants or mix with potting soil.
- For even better results, supplement your homemade compost with our premiumvermicompost products for optimal plant growth and nutrient absorption.
Quick Tips for Best Results
- Chop kitchen waste into smaller pieces for quicker decomposition.
- Always cover new kitchen scraps with bedding materials.
- Regularly monitor compost for moisture and proper aeration.
Common Issues & Quick Solutions
- Odor: Balance moisture and avoid unsuitable materials.
- Pests: Cover compost well and bury kitchen waste beneath bedding.
Local Tips for Indian Apartments
- Utilize kitchen scraps like curry leaves, coriander stems, and festival flower waste for richer compost.
- Ideal for growing Tulsi, aloe vera, curry leaves, and balcony vegetables.
Frequently Asked Questions (FAQs)
Question- How long does vermicomposting take?
Answer: Typically 2-3 months, depending on conditions and worm quantity.
Question- Can I use citrus and onion scraps?
Answer: Use sparingly; they can affect worm activity due to acidity and strong odors.
Question- What to do if worms try to escape?
Answer: Check moisture levels, aeration, and remove problematic scraps.
Enhance Your Composting Experience
Make your vermicomposting hassle-free and successful. Explore our exclusive range of composting bins and vermicompost products designed for superior results and healthier plants.
Start today and enjoy vibrant, thriving indoor gardening in your apartment!

